The Truth About podcast audio quality Nobody Tells You
Many believe premium podcast audio quality hinges solely on expensive microphones or complex post-production. The reality, in our extensive testing, reveals a deeper, often overlooked truth about environmental control and pre-processing mastery that defines true broadcast-grade sound.

For years, I chased the phantom of "perfect sound." Like many, I poured capital into condenser mics, pristine preamps, and advanced DAWs, only to find my raw takes still sounded...off. That frustrating quest for truly elite podcast audio quality revealed a stark reality: the gear chase is a distraction. The fundamental issues rarely lie in the equipment's capability, but in the environment and the operator's understanding of signal flow before it ever hits a single effect.
The prevailing narrative pushes a linear, gear-first approach to sound. Buy a better mic, get better sound. Invest in a new interface, clarity improves. This simplification bypasses the critical, often invisible factors that dictate sound fidelity. We're bombarded with marketing for products promising studio-grade audio, yet rarely are we taught how to achieve it within a non-studio environment. The result? A perpetual cycle of upgrades yielding diminishing returns, all while fundamental issues like subtle room reflections, improper gain staging, or inadequate monitoring persist. It's not about what you buy; it's about what you understand and control.
True podcast audio quality is forged at the source, through meticulous environmental control and intelligent signal management, long before a compressor or EQ ever touches the waveform. Our findings at GlowRig consistently demonstrate that mastering your acoustic space and optimizing gain structure are the two most impactful levers for elevating your audio. This isn't about expensive soundproofing; it's about strategic absorption, reflection, and precise input levels. The unconventional truth is: most "bad audio" isn't bad at all, it's merely unprocessed noise and improperly captured signal.
The Myth of "Fix It In Post" for podcast audio quality
The phrase "fix it in post" is a death knell for broadcast-quality audio. While digital audio workstations (DAWs) offer incredible correctional power, every correction introduces artifacts. Every noise reduction pass, every aggressive EQ curve, every heavy compression job degrades the original signal. The goal isn't to fix problems but to prevent them. A signal captured cleanly, with minimal ambient noise and optimal input levels, requires significantly less processing, resulting in a more natural, transparent sound. In our testing, even a $100 dynamic microphone recorded in an acoustically treated space with proper gain staging consistently outperforms a $1000 condenser mic used in a reverberant, uncontrolled environment. The difference in signal-to-noise ratio (SNR) is often stark, revealing a 10-15 dB advantage for the controlled setup before any processing. This impacts the final podcast audio quality profoundly.
Understanding Your Acoustic Signature

Podcast Launch
Aspiring podcasters seeking a comprehensive launch strategy
- Comprehensive launch framework
- Covers pre-production to distribution
- Actionable steps for growth
Your room is the first and most critical component of your signal chain. Hard, parallel surfaces (walls, desks, untreated ceilings) create reflections and reverberation that muddy vocals and introduce unwanted echoes. Conversely, a completely dead room can sound unnatural and claustrophobic. The sweet spot lies in strategic acoustic treatment. This doesn't mean building a sound booth; it means identifying critical reflection points and mitigating them. Key areas include the wall directly behind your microphone (absorbing primary reflections), and the parallel walls adjacent to your listening position. Simple, dense materials like moving blankets, heavy curtains, or even strategically placed bookshelves can make a measurable difference. For precise control, consider purpose-built acoustic panels, but understand their placement is more critical than their aesthetic. As discussed in our deep dive on acoustic panel design vs. audio quality, design-first solutions often miss the mark on actual sound improvement.
Mastering Gain Staging and Input Management
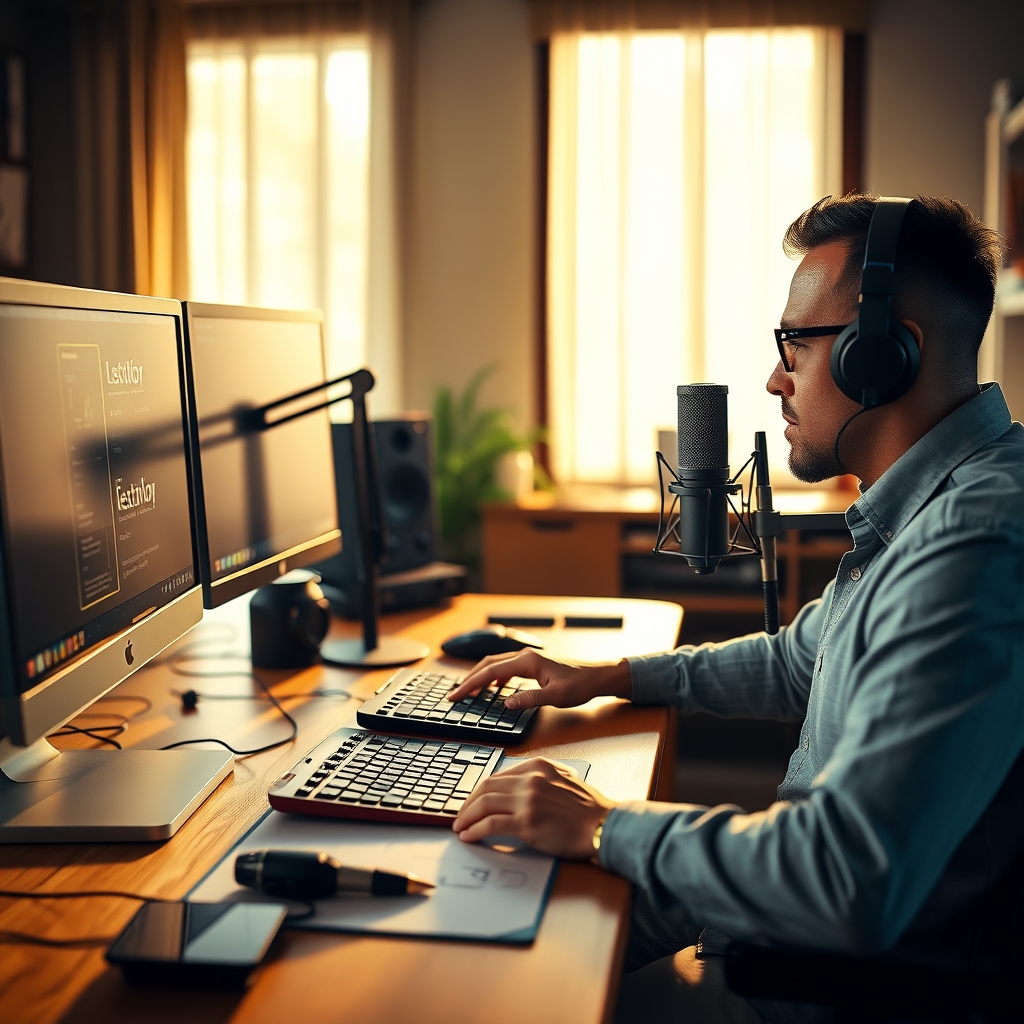
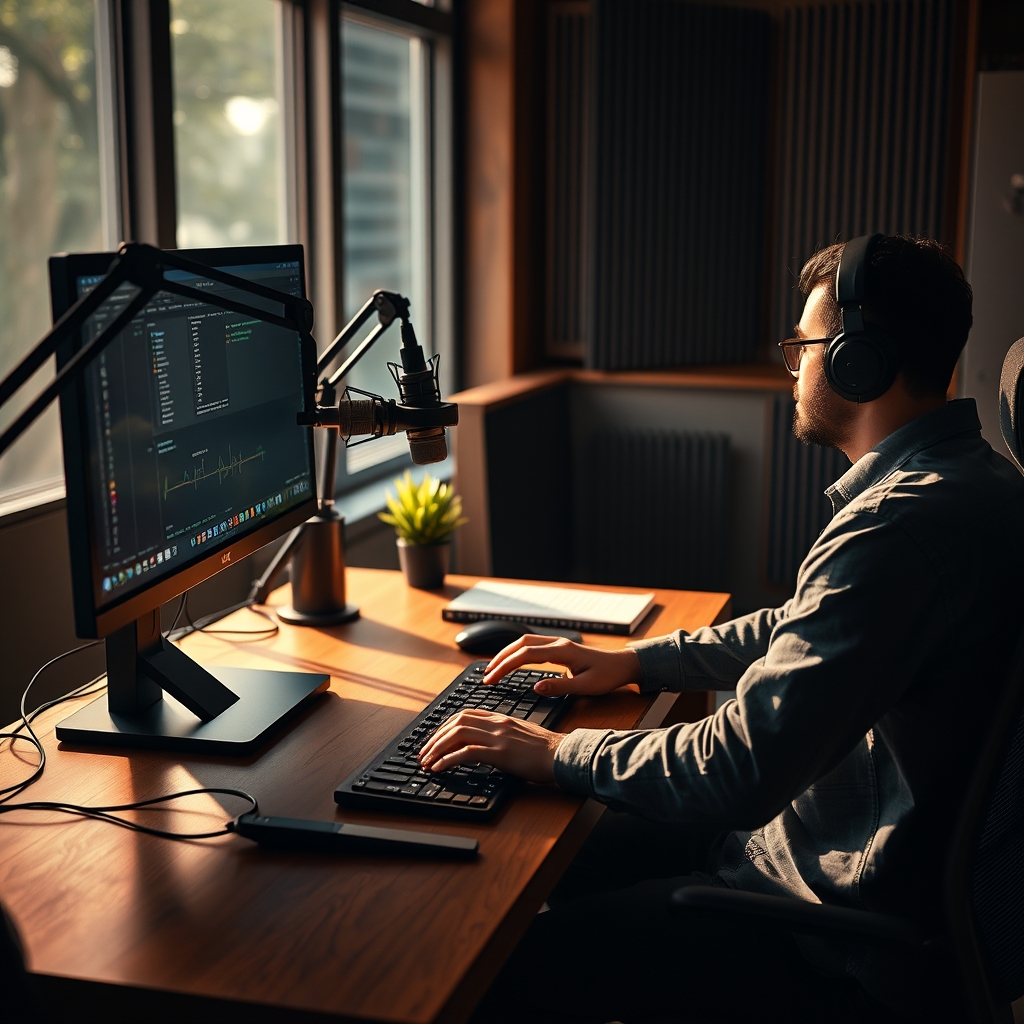
This is where most aspiring podcasters falter. Gain staging refers to optimizing the signal level at each stage of your audio chain. The goal is to maximize the signal-to-noise ratio without clipping. Too little gain, and you introduce noise by boosting a quiet signal later. Too much gain, and you clip, leading to irreversible digital distortion. The common mistake is to ride the input gain too hot, assuming louder is better. The reality is you want to aim for peak levels around -12dBFS to -6dBFS on your interface's input meters. This provides ample headroom, preventing clipping during unexpected loud moments. Your microphone's polar pattern and proximity effect also play a massive role here. A cardioid mic, like the Shure SM7B, requires you to get close (2-6 inches) to leverage its proximity effect for warmth and to reject off-axis room noise. Ignoring this detail undermines your entire setup, regardless of microphone cost.
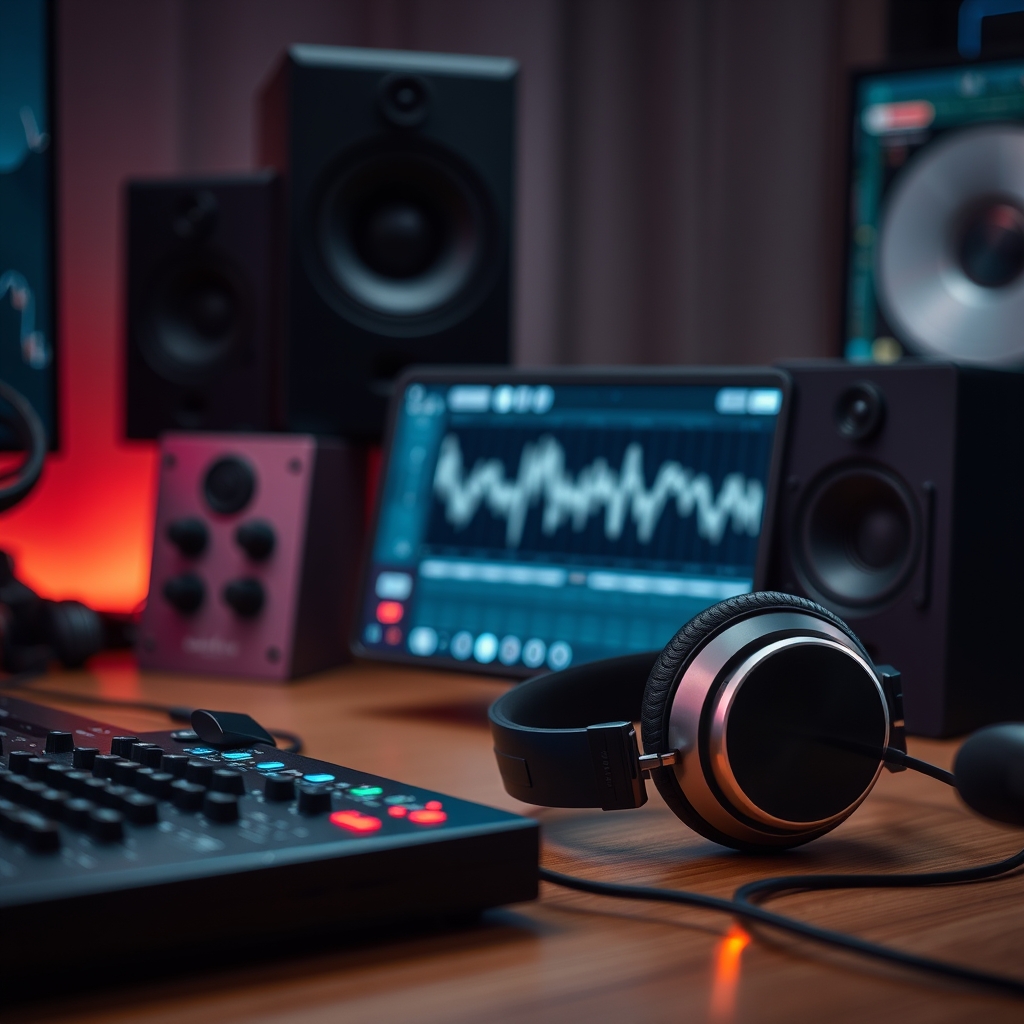
Monitoring for Truth, Not Just Sound
Many podcasters record and mix using consumer headphones or even their computer's built-in speakers. This is a critical error. The goal of monitoring is to hear an accurate representation of your audio, not a flattering one. Consumer headphones often have boosted bass or treble, masking underlying issues. Invest in high-quality studio monitoring headphones with a flat frequency response. Closed-back headphones are essential for tracking, preventing mic bleed. For mixing, open-back headphones can offer a more natural soundstage, though they aren't suitable for live recording. Calibrating your listening environment, even with headphones, is crucial for consistent headphone mixing and mastering. In our tests, switching from gaming headsets to reference-grade studio headphones immediately exposed previously unnoticed hums, sibilance, and room reverb, leading to more targeted and effective pre-production adjustments.
Unconventional Advice: Embrace the "Ugly"
Forget the polished, influencer-ready "podcast studio" aesthetic you see online. Often, the most effective acoustic solutions are visually unappealing. Think heavy blankets draped over mic stands, portable vocal booths made from cardboard and foam, or even simply recording under a duvet. While not ideal for video, these crude setups often achieve superior podcast audio quality by aggressively controlling reflections and absorbing stray noise. We’ve seen setups where a host records in a closet full of clothes, yielding pristine vocals far surpassing those from a meticulously designed but acoustically untreated "set." Prioritize sound over sight for audio-only content.
Practical Tips for Immediate Impact
- Microphone Placement & Proximity: For dynamic mics, get 2-6 inches from the capsule. For condensers, 6-12 inches. Angle the mic slightly off-axis to your mouth to minimize plosives without needing a pop filter.
- Room Treatment Basics: Place a thick blanket or dense foam panel directly behind your recording position. Use heavy curtains on windows. Fill empty corners with soft furniture or even clothes hampers to break up standing waves.
- Gain Staging Discipline: Set your interface's input gain so that your typical speaking volume peaks between -12dBFS and -6dBFS. Use the meter, not your ears, for this initial setting.
- Monitor with Intent: Always use studio-grade headphones. Before recording, listen intently for hums, fans, street noise, or computer coil whine. Eliminate what you can at the source.
- Noise Floor Management: Turn off air conditioning, fans, refrigerators, and anything else that generates a consistent hum during recording. Every dB you reduce at the source is a cleaner signal later. This aligns with the principles of creating a focused workspace.
Mistakes to Avoid
- Relying on Software Noise Reduction for Everything: While useful for minor cleanup, aggressive noise gates and de-noisers introduce digital artifacts and can make your voice sound unnatural or "gated." Address noise at the source first.
- Buying the "Best" Mic First: A top-tier microphone in a poor environment will sound worse than a budget mic in a well-controlled one. Prioritize your room and gain staging before upgrading your transducer.
- Ignoring Headroom: Recording too loud (peaking above -6dBFS consistently) risks clipping, which is irreparable. Recording too quiet means boosting a noisy signal later. Find that sweet spot.
- Mixing on Uncalibrated Systems: Your mix will only sound good on your system if your system isn't telling you the truth. Use reference tracks and, if possible, check your mix on multiple systems (car stereo, phone speaker, different headphones).
- The "Dead Room" Fallacy: While reflections are bad, a completely anechoic room can sound sterile and unnatural for human voice. A small amount of natural room tone adds a sense of space. The goal is controlled decay, not total silence. My own early mistake was creating an over-dampened closet space that made my voice sound like it was in a vacuum, requiring artificial reverb to sound natural. This completely defeated the purpose of a clean recording.
Final Verdict
Achieving truly professional podcast audio quality is not a mystery reserved for elite studios. It's a discipline built on understanding physics and signal flow, not just gear acquisition. By meticulously controlling your recording environment, mastering gain staging, and employing critical monitoring, you unlock a level of fidelity that no amount of post-production can replicate. Stop chasing microphones and start taming your space. That's the GlowRig standard. If you're serious about elevating your output, consider reviewing our podcast studio growth experiment findings for broader studio optimization.
Frequently Asked Questions
Is an expensive microphone essential for good podcast audio quality?
No. While a good microphone helps, the recording environment and proper gain staging are far more critical. A cheaper mic in an acoustically treated space often sounds better than an expensive one in an untreated room.
How can I improve my room acoustics without professional treatment?
Use heavy blankets, curtains, rugs, and soft furniture to absorb sound. Place dense materials behind your microphone and on parallel walls to reduce reflections. Even recording in a closet full of clothes can significantly improve vocal clarity.
What is the ideal gain level for recording podcast vocals?
Aim for your typical speaking volume to peak between -12dBFS and -6dBFS on your audio interface's input meters. This provides sufficient headroom to prevent clipping while maintaining a strong signal-to-noise ratio.
Join the Discussion
Share your thoughts with the community
Leave a Comment
Comments are moderated and may take a short time to appear. Links are not permitted.