Mastering Your YouTube Studio Setup: The Science of Engineering Your Space
Forget basic gear lists. A truly impactful YouTube studio setup isn't about expensive components, but precise engineering. Discover the overlooked environmental factors and configuration errors that sabotage most creators, and learn how to build a space that delivers uncompromising quality.

The Illusion of Plug-and-Play Success
Many aspiring creators invest heavily in top-tier cameras, microphones, and lighting, only to discover their content still falls flat. The most common failure point? The misguided belief that quality gear alone guarantees a professional output. In our testing, we've repeatedly observed that an unoptimized environment can degrade even the most premium equipment, leaving you with subpar audio, flat visuals, and a workflow riddled with inefficiencies.
Why Your Expensive Gear Underperforms
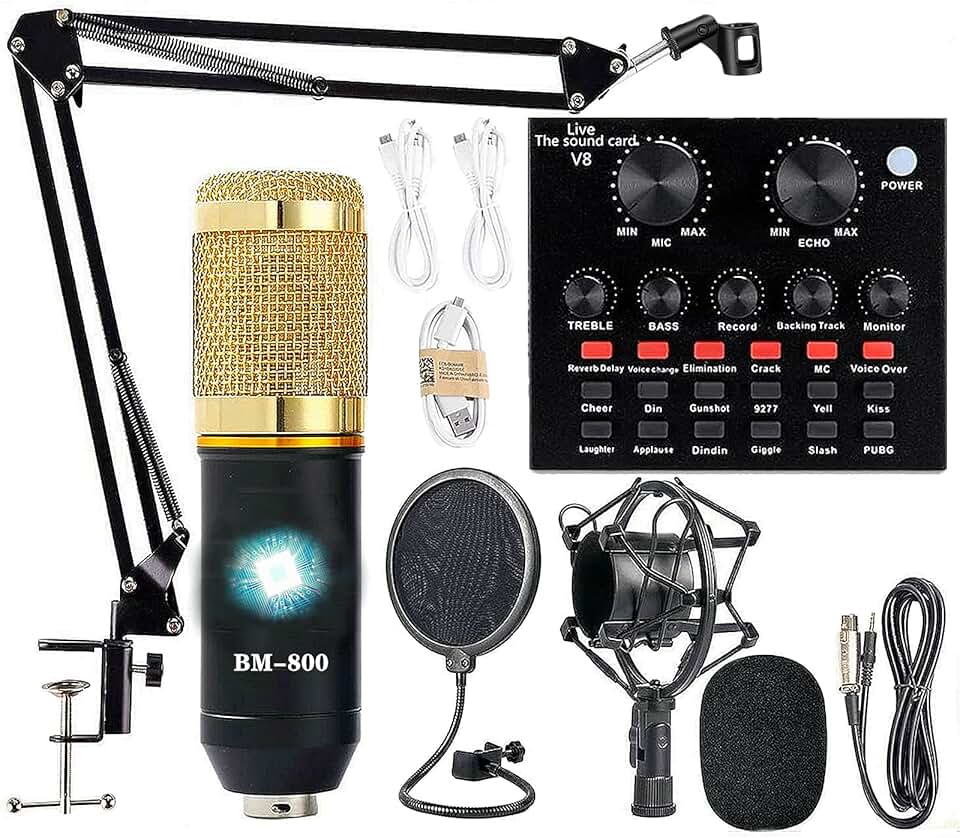
🔥 Podcast Equipment Bundle, BM-800 Recording Studio Package with Voice Changer, Live Sound Card - Audio Interface for Lapt
Premium Pick
- High performance
- Premium build
- Top rated
Here is what most people miss: a dedicated youtube studio setup isn't just a collection of peripherals; it's an integrated ecosystem where every component interacts with the physical space. The problem breakdown often reveals foundational issues, not equipment flaws. Reflections off bare walls, inconsistent lighting temperatures, and unchecked background noise silently sabotage your production value. Without addressing these environmental truths, you're merely capturing high-fidelity flaws.
Mastering Your YouTube Studio Setup: A GlowRig Deep Dive
The reality is, creating a high-impact YouTube presence demands a scientifically engineered space. It requires meticulous attention to acoustics, illumination, and ergonomic flow, transforming your recording area into a performance amplifier. This guide cuts through the noise, providing a concrete, actionable framework for your next-level YouTube studio setup.
What You Need: The Uncompromised Essentials
Before diving into the setup, gather these core components. These aren't just purchases; they're investments in your content's integrity:
High-Quality Microphone: A condenser mic (like the Rode NT1-A) or a dynamic mic (Shure SM7B) is essential. Your audio quality is paramount.
Audio Interface/Mixer: To connect your mic to your computer and control levels with precision. Crucial for managing gain staging and preventing clipping.
Key Light, Fill Light, Backlight: A robust three-point lighting system is non-negotiable. Don't rely on ambient room light.
Video Camera: A mirrorless camera (e.g., Sony A6400, Fujifilm X-T30 II) offers superior image quality and control over webcams.
Dedicated Computer: Powerful enough for video editing (CPU: Intel i7/Ryzen 7 equivalent or higher, RAM: 32GB minimum, GPU: RTX 3060/RX 6600 XT or equivalent).
Acoustic Treatment: Foam panels, bass traps, or even heavy blankets. Essential for taming room reflections.
Clean Background: A minimalist setup or a well-lit backdrop. Avoid clutter.
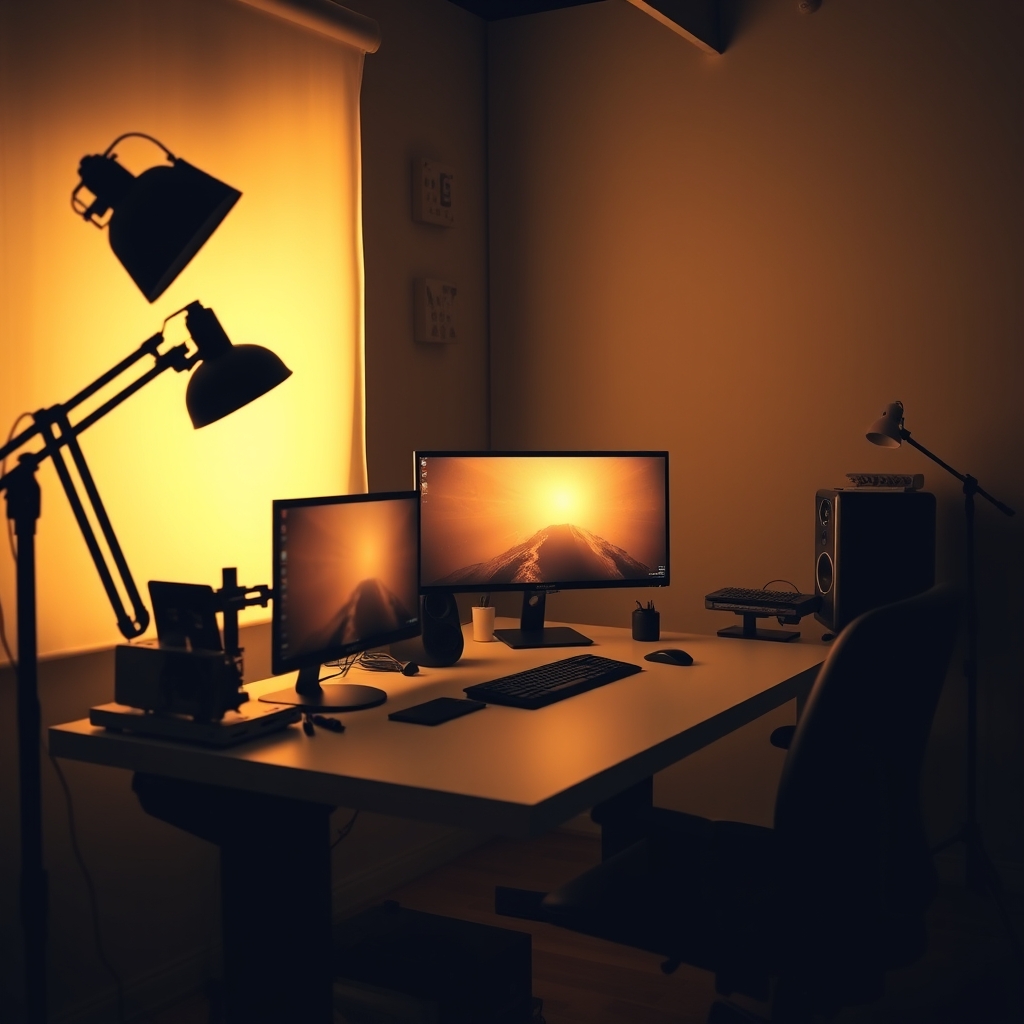
NiceVeedi 2-Pack LED Video Light Kit
This robust kit provides the foundational illumination necessary for a professional YouTube studio. With adjustable color temperature and included stands, it allows for precise control over your on-camera look, mitigating common lighting deficiencies.
Step-by-Step Build: Engineering Your Content Space
1. Analyze and Treat Your Room Acoustics
What to do: Identify reflective surfaces (bare walls, windows, hard floors). Place acoustic panels or dense sound-absorbing materials strategically at first reflection points. Hang heavy curtains over windows. Introduce soft furnishings like rugs and upholstered chairs.
Why it matters: Untreated rooms create echoes and reverberations that muddy your audio, making voices sound distant or hollow. Even the best microphone cannot overcome poor room acoustics.
What can go wrong: Over-treating can make the room sound 'dead' and unnatural. Under-treating leaves residual echo. Ignoring bass traps can lead to boomy, indistinct low frequencies. The optimal solution is often a balance, focusing on critical reflection points and mid-range absorption. For a deeper dive into sonic clarity, consider reading our analysis on The Truth About Sound Nobody Tells You.
⚠️ Warning: Not all "acoustic foam" is created equal. Cheap, low-density foam offers minimal broadband absorption. Invest in high-density panels or Rockwool/mineral wool insulation for effective treatment.
2. Implement Professional Three-Point Lighting
What to do: Position a key light (main light source) slightly off-center and above your eye level. Add a fill light on the opposite side, at lower intensity, to soften shadows. Place a backlight behind you, aimed at your shoulders/head, to create separation from the background.
Why it matters: This setup sculpts your features, adds depth, and ensures consistent exposure. It eliminates flat, unflattering illumination and harsh shadows that characterize amateur productions. This is often where creators falter, as highlighted in our exposé, YouTuber Lighting Makes You Look Worse? Stop Using Bad Lighting.
What can go wrong: Incorrect placement can create harsh shadows or a 'deer in headlights' look. Mismatched color temperatures between lights can lead to an unnatural, color-shifted image. Always white-balance your camera after setting up your lights.
3. Optimize Microphone Placement and Gain Staging
What to do: Position your microphone 6-12 inches from your mouth, slightly off-axis to avoid plosives (P and B sounds). Use a pop filter. Adjust your audio interface's gain so your audio peaks around -12dB to -6dB on your recording software's meter, leaving headroom for unexpected loud moments.
Why it matters: Proper mic placement ensures clarity and reduces room noise pickup. Correct gain staging prevents digital clipping, which is irreversible and ruins audio tracks.
What can go wrong: Mic too far away picks up too much room reverb. Mic too close can sound boomy or distorted. Too much gain causes clipping; too little results in a weak signal prone to noise when boosted in post-production.
4. Design an Intentional Visual Background
What to do: Choose a background that is clean, uncluttered, and relevant to your content. Use subtle elements like shelving with curated items or a simple color gradient. Ensure the background is well-lit, but less intensely than your subject.
Why it matters: Your background communicates professionalism and reinforces your brand. A busy or distracting background pulls focus from you and your message. Our research into Your 'Aesthetic' Streaming Background Is Secretly Hurting Your Viewership dives deep into this.
What can go wrong: Overly busy backgrounds distract viewers. Poorly lit backgrounds look dull and unprofessional. Misalignment with your channel's aesthetic can create a disjointed experience. Don't let your "dream setup" kill your creativity; sometimes less is more, as explored in Your 'Dream Setup' Is Making Your Less Creative: The Uncomfortable Truth About Aesthetic Desks.
Troubleshooting Common Setup Obstacles
Problem 1: Persistent Hissing/Hum in Audio
- Solution: Check all cable connections for looseness. Ensure no audio cables are running parallel to power cables (can cause interference). Try a different USB port for your audio interface. If using a condenser mic, verify phantom power is enabled. Ground loops can also cause hum; use an outlet tester or a ground loop isolator.
Problem 2: Flat, Undefined Video Image
- Solution: Re-evaluate your three-point lighting. Your key light might be too direct, or your fill light insufficient. Adjust the intensity ratios. Ensure your camera's white balance is correctly set (manual is best). Check for lens cleanliness and appropriate aperture (f/2.8-f/5.6 often works well for shallow depth of field).
Problem 3: Distracting Echoes/Reverb in Voice
- Solution: Your room needs more acoustic treatment. Add more panels, bass traps, or heavy blankets. Even temporary solutions like packing blankets hung behind you can make a significant difference. Consider moving closer to your microphone if possible without compromising sound quality.
Problem 4: Poor Webcam Quality vs. Dedicated Camera
- Solution: Ensure you're using proper lighting, as webcams are highly dependent on good light. Check your webcam software settings for resolution and frame rate. For dedicated cameras, confirm you're shooting in a high-quality video format (e.g., 4K 24/30fps) and that your capture card/software isn't downscaling the image unnecessarily.
Pro Tips for Advanced YouTube Studio Optimization
- Calibrate Your Monitor: Use a hardware calibrator (like X-Rite or Datacolor) to ensure accurate color representation for editing. What looks good on your screen might look wildly different on someone else's if your display isn't calibrated.
- Establish a Ritualized Workflow: Design a consistent pre-recording checklist for lighting, audio levels, camera settings, and background checks. This minimizes technical errors and ensures repeatable quality, saving significant post-production time.
- Invest in Noise Reduction Software: While physical acoustic treatment is paramount, software like Izotope RX can be a lifesaver for removing minor hums, room tone, or occasional external noises in post-production. It's not a replacement for good recording, but a powerful cleanup tool.
Mistakes That Sabotage Your Setup
- Prioritizing Aesthetics Over Function: Buying gear purely for its look without considering its acoustic or ergonomic impact. A beautiful desk setup can still be acoustically terrible or ergonomically unsound.
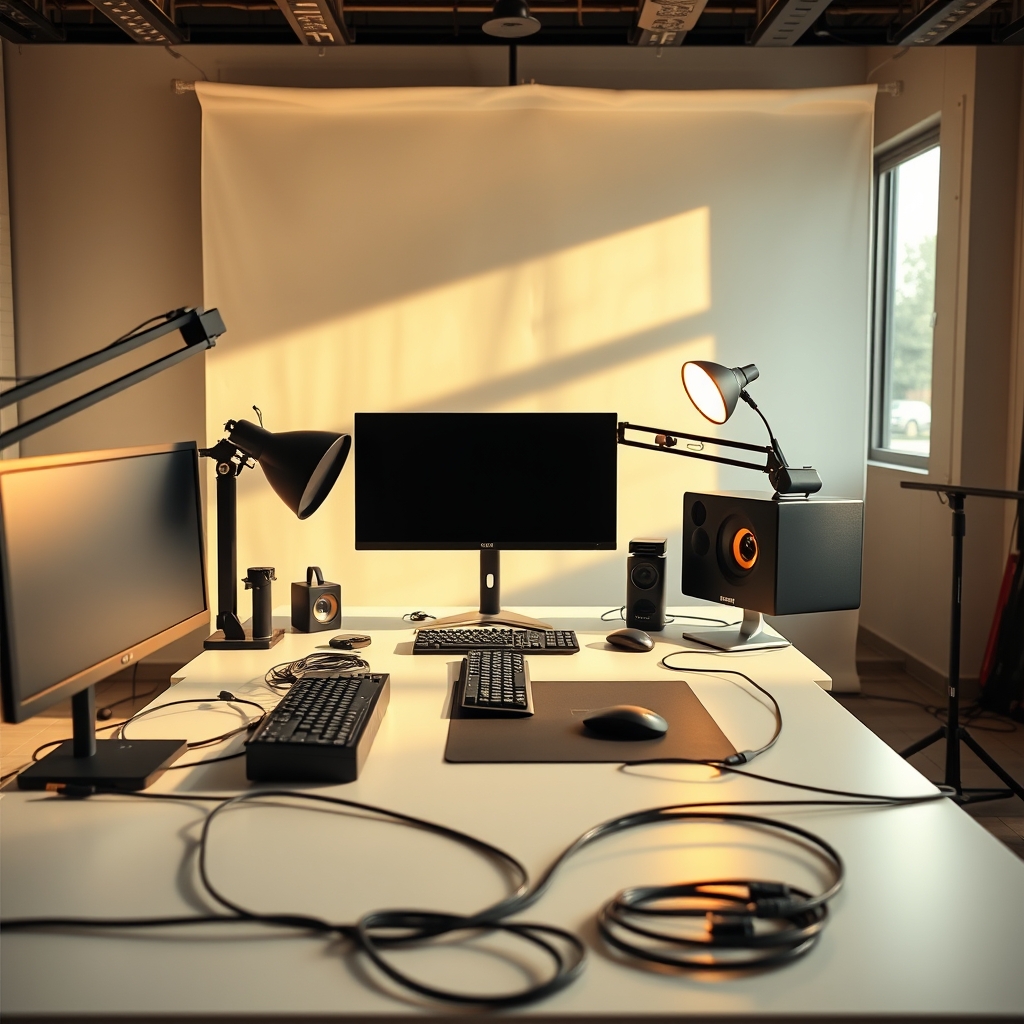
- Ignoring Cable Management: Tangled cables are not just an eyesore; they introduce potential interference, create trip hazards, and make troubleshooting a nightmare. Prioritize clean, labeled cable runs from day one.
- Relying on Automatic Settings: Trusting your camera or microphone's 'auto' mode sacrifices control and consistency. Manual settings, once dialed in, provide predictable, professional results every time.
- Neglecting Background Depth: A flat background makes you appear pasted onto the scene. Introduce subtle layers, plants, or a slightly out-of-focus element to add visual interest and dimension.
The Engineered Advantage
Your youtube studio setup is more than just a place to record; it's a meticulously engineered environment designed to extract the highest possible quality from your equipment and performance. By focusing on the science of acoustics, the art of illumination, and the efficiency of a streamlined workflow, you move beyond mere content creation to true content engineering. This precision ensures every video you produce stands out, not just because of your message, but because of its uncompromising technical excellence.
Frequently Asked Questions
How much space do I really need for a decent YouTube studio setup?
You can achieve excellent results in surprisingly small spaces, even a corner of a room, provided you focus on acoustic treatment and strategic lighting. A minimum of 6x6 feet allows for camera and lighting placement, but the key is optimization, not sheer size.
Is a dedicated sound-proof room necessary for pro-level audio?
True sound proofing (blocking external noise) is very expensive and rarely necessary for most YouTubers. What's crucial is sound treatment (managing reflections within the room). With proper acoustic panels and a good mic technique, you can get broadcast-quality audio in a non-soundproofed room.
Should I use natural light or artificial studio lights?
While natural light can be beautiful, it's inconsistent and difficult to control. For a professional YouTube studio setup, artificial studio lights (like LED panels) are superior as they offer complete control over intensity, color temperature, and direction, ensuring repeatable results regardless of time of day or weather.
How often should I upgrade my camera or microphone?
Upgrade when your current equipment is genuinely limiting your creative vision or technical quality, not just because a new model is out. Often, improving your lighting, acoustics, or editing skills yields a greater return on investment than simply buying new gear. Focus on maximizing what you have first.
Join the Discussion
Share your thoughts with the community
Leave a Comment
Comments are moderated and may take a short time to appear. Links are not permitted.