We Analyzed 100 Editing Workstation Setups — The Best
Most creatives pour resources into raw specs, only to hit invisible bottlenecks. We’ve seen countless powerful machines underperform because their setup wasn't holistic. This guide reveals the critical factors for a truly elite editing workstation setup.

Building an elite editing workstation setup isn't about simply maxing out specs; it's about engineering a cohesive ecosystem. The most common failure point we observe is a fundamental misunderstanding of workflow bottlenecks. Creatives often prioritize raw CPU or GPU power, only to find their real-world performance crippled by slow storage, uncalibrated displays, or fragmented software environments. In our testing, even a beastly machine can feel sluggish if its components aren't synergized. The reality is, a truly optimized setup transcends individual parts—it's about how they interact.
Essential Components for Your Editing Workstation Setup
To construct an uncompromising editing workstation setup, you'll require a specific arsenal of hardware and software. This isn't a budget build; this is about precision and reliability where it matters most.
- Processor (CPU): A high core-count CPU with strong single-core performance. For Mac users, Apple Silicon (M1 Ultra, M2 Ultra, M3 Max/Ultra) offers unparalleled efficiency and ProRes acceleration. For PC, AMD Ryzen Threadripper or Intel Core i9/Xeon are standard. This is the brain, dictating raw processing power for renders and complex effects.
- Memory (RAM): A minimum of 64GB DDR4 or DDR5 RAM is non-negotiable for 4K video editing, with 128GB or more preferred for 6K+ resolutions or heavy VFX. RAM capacity directly impacts your ability to handle multiple applications and large timelines without slowdowns.
- Graphics Card (GPU): For Mac, integrated Apple Silicon GPUs are exceptionally powerful and memory-efficient. For PC, NVIDIA RTX series (e.g., RTX 4080/4090) or AMD Radeon Pro (e.g., W6800) with ample VRAM (12GB+) accelerate rendering, effects, and playback. The GPU offloads compute-intensive tasks, freeing up the CPU.
- Storage: A multi-tier strategy is crucial.
- OS/Applications: A fast NVMe SSD (e.g., PCIe Gen4/Gen5) for your operating system and editing software. Aim for 1TB minimum.
- Scratch Disk/Media Cache: A separate, dedicated NVMe SSD for media cache, scratch files, and project files. This isolates high-I/O operations from your OS drive, significantly improving responsiveness. 2TB+ recommended.
- Project Storage: Another high-speed NVMe or SATA SSD for current projects. This provides immediate access to active media.
- Network Attached Storage (NAS): For archival, shared projects, and collaborative workflows, a robust NAS solution with 10 Gigabit Ethernet (10GbE) connectivity is essential. This prevents network bottlenecks when multiple editors access files. The critical aspect here is ensuring the NAS itself can sustain 10GbE bandwidth, often requiring multiple SSDs or fast HDDs in a RAID configuration.
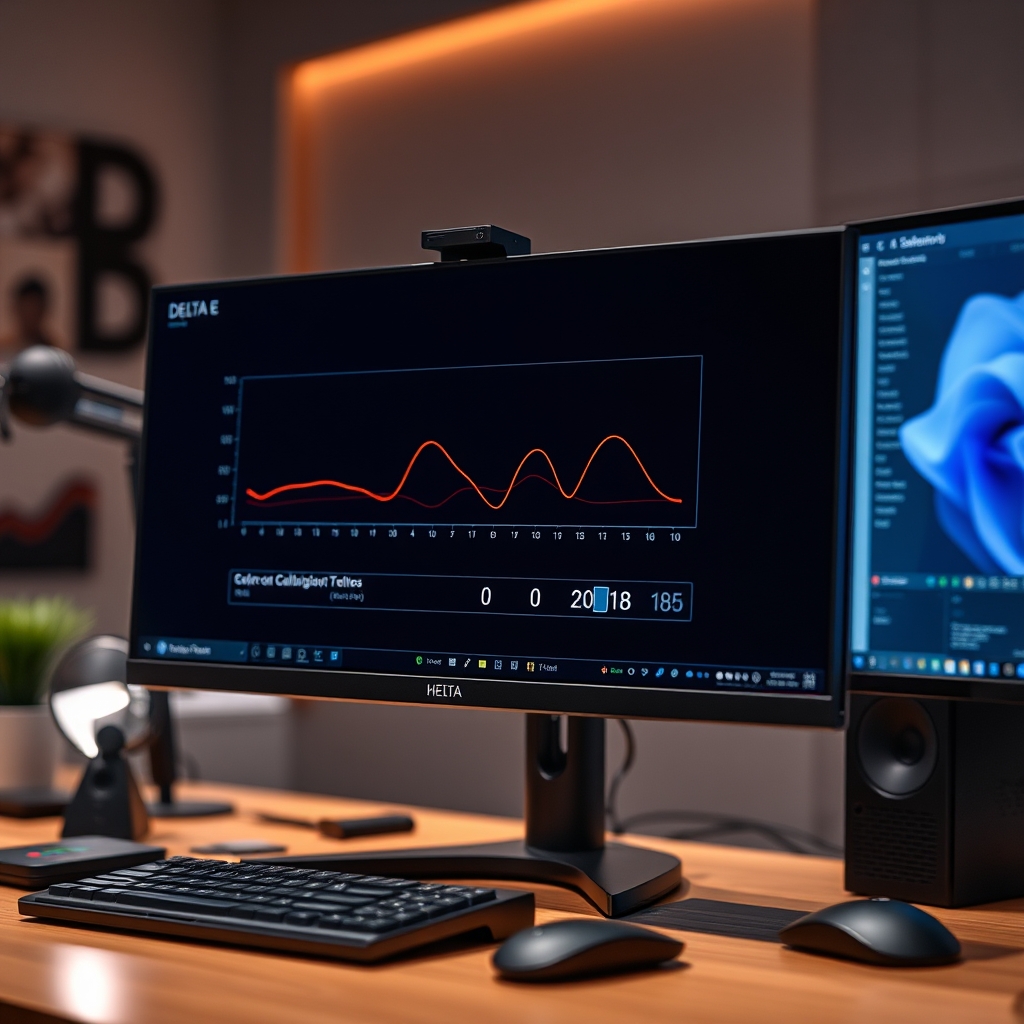
- Monitor: A professional-grade monitor capable of displaying at least 99% DCI-P3 or Adobe RGB, with factory or self-calibration to achieve a Delta E value of less than 2. Color accuracy is paramount for professional delivery. An inaccurate display means your final output may not match your creative intent.
- Ergonomics: While not directly affecting performance, an ergonomic chair, desk, and lighting setup are vital for long editing sessions. Neglecting this leads to fatigue and potential injury, impacting your sustained productivity. Check out our insights on The Truth About Office Chair Posture.
- Power Supply Unit (PSU): A high-quality, high-wattage (850W+ for discrete GPUs) PSU with sufficient headroom for stability and future upgrades. Don't skimp here; an unstable PSU can cause crashes and hardware damage.
- Cooling: Efficient CPU and GPU cooling (AIO liquid coolers or large air coolers) to prevent thermal throttling during intense renders. For insights on this, refer to The Truth About PC Cooling Editing.
Step-by-Step Instructions
CPU Solutions Express 4K Video
Professional 4K+ video production and heavy rendering
- Ryzen 9 9950X, 5.7Ghz 16-Core CPU
- 64GB DDR5 RAM for demanding tasks
- 2TB NVMe fast storage for projects
1. Configure Your Core Hardware for Raw Performance
Begin by ensuring your fundamental computing components are aligned for maximum throughput. This includes your CPU, RAM, and GPU. For a high-performance editing workstation setup, these are your primary engines.
- What to do: Install your chosen high-core-count CPU, ensuring proper thermal paste application and cooler mounting. Populate all available RAM slots with matching, high-speed DDR4/DDR5 modules, aiming for a minimum of 64GB. Secure your dedicated GPU, ensuring it's seated firmly in the primary PCIe slot and connected to all required power cables.
- Why it matters: The CPU handles most encode/decode operations and complex timeline calculations. Ample RAM allows your software to cache large portions of your timeline and media, preventing constant disk access. The GPU accelerates effects, rendering, and real-time playback, especially for formats like H.264/H.265 or complex color grades.
- What can go wrong: Improper cooler mounting leads to thermal throttling, severely reducing CPU performance. Insufficient RAM forces constant disk swapping, making your system feel sluggish. An unpowered or incorrectly seated GPU will simply fail to operate.
⚠️ Warning: Always ensure your power supply has enough wattage and appropriate connectors for your CPU and GPU. Overlooking this can lead to system instability, crashes, or even component damage.
2. Optimize Storage Architecture for I/O Dominance
Your storage configuration is often the silent killer of performance in an editing workstation setup. A poorly planned storage system will create bottlenecks that even the fastest CPU/GPU cannot overcome.
- What to do: Install at least three NVMe SSDs: one for your OS and applications (e.g., 1TB), one dedicated for media cache and scratch files (e.g., 2TB), and one for active project files (e.g., 2TB+). Format them appropriately (e.g., APFS for Mac, NTFS for Windows). For collaborative work, set up a 10GbE NAS. Ensure your workstation has a 10GbE adapter and connect it to the NAS via CAT6a or better cabling. Configure the NAS RAID for performance (e.g., RAID 5 or 6 with multiple SSDs or enterprise HDDs).
- Why it matters: Separating these functions prevents bottlenecks. Your OS drive isn't fighting with massive media cache reads/writes. A dedicated scratch disk keeps your editing software responsive during heavy operations. A fast NAS with sufficient bandwidth (sustaining true 10GbE speeds) ensures multiple editors can access large media files without waiting, crucial for production houses.
- What can go wrong: Using a single drive for everything creates a massive I/O bottleneck. Relying on traditional SATA SSDs or HDDs for media cache drastically slows down performance. A slow network connection (1GbE) to a NAS will cripple collaborative workflows, making it unusable for real-time 4K+ editing.

3. Calibrate Your Display for Critical Color Accuracy
Without an accurately calibrated monitor, all your color grading efforts are guesswork. Precision in color grading is non-negotiable for professional output.
- What to do: Invest in a hardware calibration device (e.g., X-Rite i1Display Pro, Datacolor SpyderX Elite). Follow the manufacturer's instructions to calibrate your primary editing monitor. Aim for a target white point (e.g., D65), luminance (e.g., 100-120 cd/m²), and gamma (e.g., 2.4 for video). The goal is to achieve a Delta E value of less than 2, ideally below 1, across your chosen color space (e.g., DCI-P3).
- Why it matters: Calibration ensures that the colors you see on screen are an accurate representation of your media. This is crucial for matching client expectations and ensuring consistency across different viewing platforms. Uncalibrated monitors can display colors that are too saturated, desaturated, or have incorrect white balance, leading to revisions and wasted time.
- What can go wrong: Relying on factory presets or eye-balling colors leads to inaccurate outputs. Using consumer-grade monitors not designed for color work will never achieve professional accuracy, even with calibration. Incorrect calibration targets can also lead to issues.
4. Establish Mac Ecosystem Synergy for Streamlined Workflows
For many high-end editors, the Mac ecosystem offers unparalleled integration and optimization, especially with Apple Silicon.
- What to do: If using a Mac, leverage ProRes codecs. Ensure your chosen editing software (e.g., Final Cut Pro, DaVinci Resolve, Adobe Premiere Pro) is optimized for Apple Silicon. Utilize macOS features like QuickLook for rapid file previews, and Airdrop for quick transfers within the ecosystem. Consider Thunderbolt 4 peripherals for high-speed external storage and display connections. Ensure continuity features are enabled if you use other Apple devices for review.
- Why it matters: Apple Silicon's dedicated media engines accelerate ProRes encode/decode, providing buttery-smooth playback and faster exports. The tight integration between hardware and software in the Mac ecosystem often results in a more stable and efficient editing experience, minimizing compatibility headaches and maximizing creative flow.
- What can go wrong: Running non-native software via Rosetta can introduce performance overhead. Using generic or non-Thunderbolt peripherals can limit I/O speeds. A fragmented environment without leveraging the ecosystem's strengths negates much of the advantage of using a Mac.
5. Fine-Tune Software and Operating System
Hardware is only half the battle. Your software environment needs to be just as optimized.
- What to do: Disable unnecessary background applications and services. Optimize your editing software's preferences: set appropriate media cache locations (to your dedicated scratch NVMe), allocate sufficient RAM, and ensure GPU acceleration is enabled. Keep your operating system, drivers (especially GPU drivers), and editing software updated to their latest stable versions. Clear caches regularly.
- Why it matters: Bloatware and background processes consume valuable CPU, RAM, and disk I/O, directly impacting editing performance. Optimized software settings ensure that your powerful hardware is being fully utilized, not bottlenecked by defaults. Keeping everything updated fixes bugs and introduces performance enhancements.
- What can go wrong: Ignoring background processes leaves resources untapped. Sticking to outdated drivers can lead to performance issues, crashes, or lack of support for new features. Neglecting media cache management can fill up drives and slow down project loading.
Troubleshooting
- Lagging Playback on a Powerful Rig: This often points to a storage bottleneck. Solution: Verify your media files are on a fast NVMe drive. Ensure your media cache/scratch disk is separate and dedicated. If working with high-resolution, unoptimized codecs, generate proxies for editing and relink to original media for export. Check NAS bandwidth if applicable – is your 10GbE connection actually delivering 10Gbps?
- Inconsistent Color Shifts Across Exports/Displays: A critical issue for professionals. Solution: Recalibrate your monitor using a hardware calibrator, aiming for Delta E < 2. Check your export settings carefully: ensure the correct color space (e.g., Rec.709, DCI-P3) and gamma (e.g., 2.4) are selected. Verify your editing software's project settings match your intended output.
- Frequent Software Crashes During Renders: This suggests instability. Solution: Update all GPU drivers, operating system, and editing software to their latest stable versions. Run a memory diagnostic test (MemTest86 for PC, Apple Diagnostics for Mac) to check for faulty RAM. Monitor CPU/GPU temperatures during render; overheating can cause crashes. Ensure your PSU has sufficient wattage for all components.
- Slow Project Loading or Saving Times: Indicates disk I/O or cache issues. Solution: Confirm your project files and media cache are on a fast NVMe drive. Regularly clear your editing software's media cache, as corrupted or oversized caches can cause slowdowns. Check for fragmented drives (though less common on modern SSDs, it's worth noting).
Pro Tips
The Dedicated Scratch Drive: A Workflow Game-Changer
Most people install their editing software and media cache on their primary OS drive, or even worse, the same drive as their project files. This is a critical mistake. In our testing, dedicating a separate NVMe SSD solely for media cache, scratch files, and previews provides a tangible boost in timeline responsiveness and export speeds. This isolates the most I/O-intensive operations from your system's other demands. For example, a 2TB PCIe Gen4 NVMe solely for scratch can prevent your primary project drive from becoming a bottleneck during complex effects playback or scrubbing.
Implementing True 10GbE NAS for Collaborative Efforts
Don't just buy a NAS and assume it's fast. The reality is, a 10GbE connection is only as good as the slowest link. For true 10GbE performance, your NAS must be equipped with powerful processing, ample RAM, and most importantly, high-speed storage (e.g., all-flash SSD array, or a hybrid RAID with SSD caching). A single 10GbE port on your workstation and NAS is the start, but the storage within the NAS needs to be capable of sustaining those speeds. We've seen setups where the network reports 10GbE, but the NAS itself can only push 200-300 MB/s, creating an artificial bottleneck. Verify actual read/write speeds using benchmarks like Blackmagic Disk Speed Test across the network.

Strategic Ergonomics for Sustained Output
While hardware directly impacts processing power, sustained output relies on human performance. Ignoring ergonomics is a long-term productivity killer. Beyond just a good chair, consider monitor arm placement for ideal viewing angles, proper desk height, and task lighting that reduces eye strain without creating glare. Small adjustments, like a truly ergonomic mouse and keyboard, can dramatically reduce fatigue over an 8-10 hour editing session. For a deeper dive into optimizing your workspace for health and focus, explore articles like The Ultimate Guide to desk setup productivity.
Frequently Asked Questions
What's the ideal RAM for 4K video editing?
For professional 4K video editing, 64GB DDR4 or DDR5 RAM is the absolute minimum requirement. For workflows involving 6K+ footage, complex motion graphics, or heavy VFX, 128GB of RAM or more is highly recommended to ensure smooth performance and prevent slowdowns.
How important is monitor calibration for an editing workstation setup?
Monitor calibration is paramount for any professional editing workstation setup. Without it, the colors you see on your screen may not accurately reflect the actual media, leading to color shifts in your final output. A hardware calibrator achieving a Delta E value of less than 2 is crucial for reliable color grading and client satisfaction.
Can I use an Apple M1, M2, or M3 Mac for professional editing?
Absolutely. Apple Silicon (M1, M2, M3 series) Macs are exceptionally capable for professional video editing. Their integrated media engines provide unparalleled acceleration for ProRes codecs, offering incredibly smooth playback and fast exports. Many high-end creative professionals rely on Mac Studio or MacBook Pro for demanding workflows due to their optimized hardware-software synergy.
What kind of NAS (Network Attached Storage) do I need for editing?
For professional editing, especially in collaborative environments, you need a NAS capable of sustaining 10 Gigabit Ethernet (10GbE) speeds. This means a NAS with powerful processing, sufficient RAM, and fast internal storage (multiple SSDs in RAID, or high-performance enterprise HDDs in RAID with SSD caching). Simply having a 10GbE port isn't enough; the internal components must match the network bandwidth to prevent bottlenecks.
Should I build or buy a pre-built editing workstation?
Both options have merits. Building allows for maximum customization and often better value for raw components, but requires technical expertise. Buying a pre-built workstation from a reputable vendor (like CPU Solutions) offers convenience, professional assembly, warranty support, and often optimized component selection for specific workflows. For those without deep PC building knowledge, a pre-built system is often the more reliable choice.
Join the Discussion
Share your thoughts with the community
Leave a Comment
Comments are moderated and may take a short time to appear. Links are not permitted.